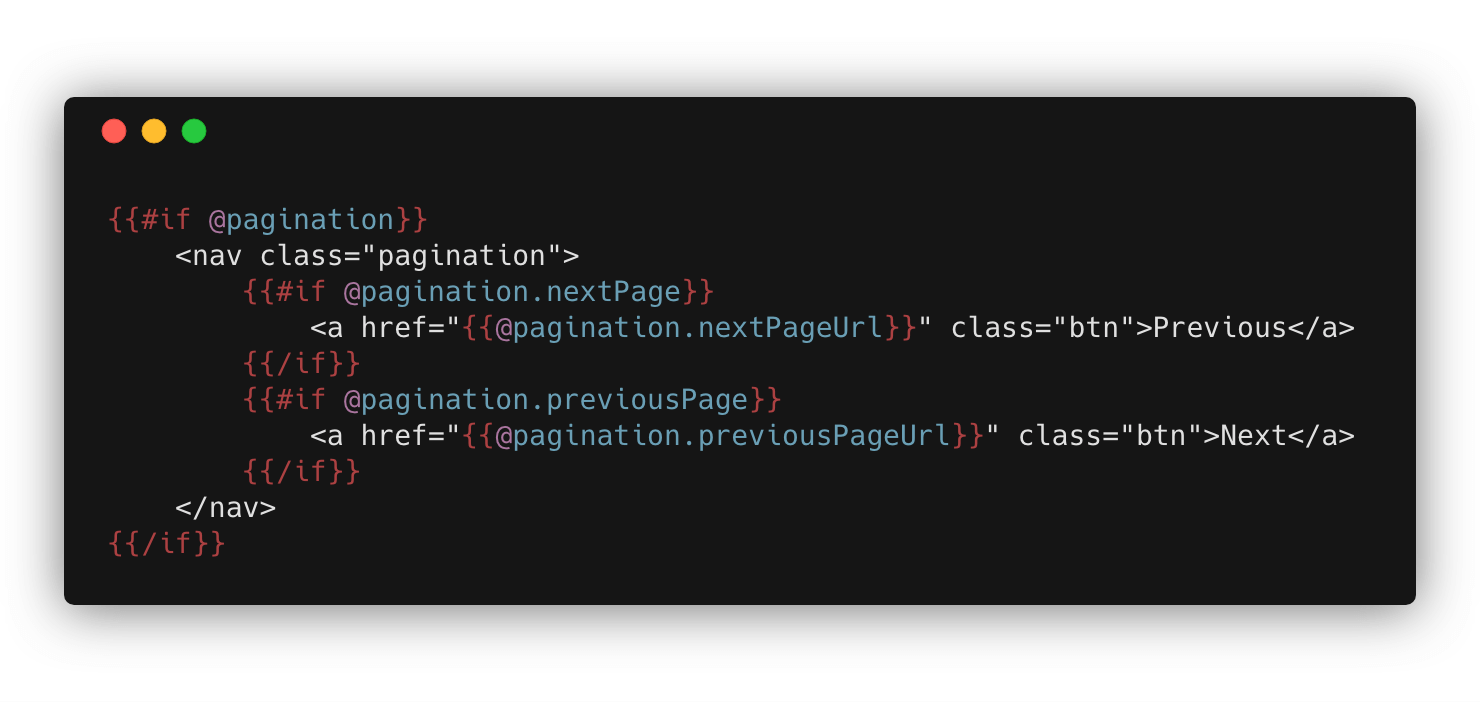
Highlight your code syntax with PrismJS
To improve the readability of code added into a post during the writing process we we can use a syntax highlighter that, as the name suggests, highlights special keywords, string values, numbers etc... with specific colors, much like in a desktop code editor such as Sublime Text.

To implement this feature in some of our themes we decided to make use of Prism.js, which is written in JavaScript and CSS and is very usable, lightweight and fast with beautiful, clear highlighting.
How to add Prism.js syntax highlighting to any website?
The implementation of PrismJS is really very simple and does not require much effort or special knowledge. All you have to do is:
- Go to the PrismJS project homepage , and hit the big ‘Download’ button at the top of the site to go to the download page. You’ll need to generate the script and CSS files for implementation by first adding a checkmark to all the coding languages that you want Prism to recognise when added to a post as well as any additional Prism plugins that you would like to use; plugins are not essential but you may find something interesting that you’d like to try out.
- With the script prepared, click both of the "Download" buttons at the bottom of the page to download the generated prism.js and prism.css files.
- Now you have to add both downloaded files to your page:
<!DOCTYPE html> <html> <head> <link href="css/prism.css" rel="stylesheet" /> </head> <body> <script src="scripts/prism.js"></script> </body> </html> - That’s it, the files are now added. Now to put it to use: use a CSS class to add one of your chosen supported languages from the first step to the <code> tag in your post (Prism supports the code tag only; this is due to HTML5 language specifications) in the following format: "language-{*language*}".
For example, if you want to highlight css code then your CSS class will be "language-css". For PHP it will be "language-php". You can find a list of all the classes for each of the available code languages here: https://prismjs.com/#languages-list
<pre>
   <code class="language-css">

      ::placeholder {
          color: var(--placeholder);
          opacity: 1;
      }

   </code>
</pre>
Info: A full example of how Prism.js works you can see on this page which is generated by ProDocs Theme and created with Publii.

How can Prism.js be implemented in a theme without built-in support for it?
Adding Prism.js to Publii themes is no different than adding to any other page.
- Download the Prism.js files following the steps described above (point 1, 2).
- Go to your themes folder on your local computer (Documents-Publii-Your_Website-input-Your_themes) and copy the prism.js file to the assets/js folder and the prism.css to the assets/css folder.
- Now you have to load these files into your website:
- Open the head.hbs file (partials/head.hbs) and add the following code:
<link rel="stylesheet" href="{{css "prism.css" }}"> - and to the footer.hbs (partials/footer.hbs) add the following code:
<script defer src="{{js "prism.js"}}"></script>
- Open the head.hbs file (partials/head.hbs) and add the following code:
- That's it. Now we are ready to use Prism. Just follow steps 4 above to see how to use it in your post.
How to modify or add more Prism.js languages to a theme that already supports PrismJS?
All our themes with built-in Prism.js come with some more advanced methods of implementation. For example, they use a custom Prism CSS style or plugins that are attached separately when needed - this allows you to fine-tune Prism whether you want to disable Prism’s functionality entirely, or just individual plugins/css (we’re always looking for new ways to optimize website speed!)
By default, themes with built-in Prism.js support a few important languages: language-markup, language-html, language-css, language-javascript, language-handlebars, language-less, language-php, language-scss
Also by default, we have implemented two plugins: Line numbers and Copy to Clipboard. The first one is responsible for numbering the code lines and the second one allows for easy copying of code to the clipboard.
Something important to note with the Line numbers plugin is that the language classes should be added to the <code> tag only, but the Line numbers class should be added to the <pre> tag. Don’t worry if you forget about this rule; the Publii editor does not allow you to add these classes to the wrong tags, and it will automatically add them correctly.
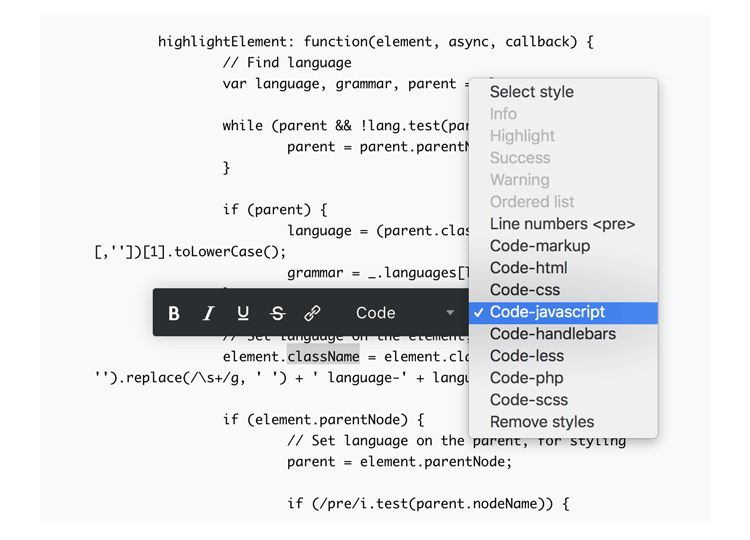
To save time, you can use the WYSIWYG editor to quickly add the correct CSS class to the <code> tag:

How to add more languages:
After implementing Prism.js you may later decide that you want to add support for even more coding languages from the extensive list available on the Prism.js website. Thankfully, it’s possible to do this without starting again from scratch. To add languages, follow these steps:
- Go to the Prism project homepage (https://prismjs.com/), then to the download page as before, and generate a script file selecting only the coding languages you are interested in; don’t reselect any plugins. Then download the JavaScript file.
Remember: do not download the CSS file, only the prism.js file.
- Copy this file to your theme’s js folder (Documents/Publii/Your_Website/input/Your_Theme/assets/scripts/)
- Now the language needs to be added to the WYSIWYG editor. Open the config.json file (your theme root), go the bottom of the file and now add the new language using the following code, where ‘newlanguage-x’ is the language code from the list on the Prism.js website:
{ "label": "Code-scss", "cssClasses": "language-newlanguage-1", "selector": "code" }, { "label": "Code-scss", "cssClasses": "language-newlanguage-2", "selector": "code" }Remember: that the last record must not have a comma at the end.
- Run Publii and you will now be able to see your new languages in the WYSIWYG editor list.
Enjoy!