How to sync your server with Publii
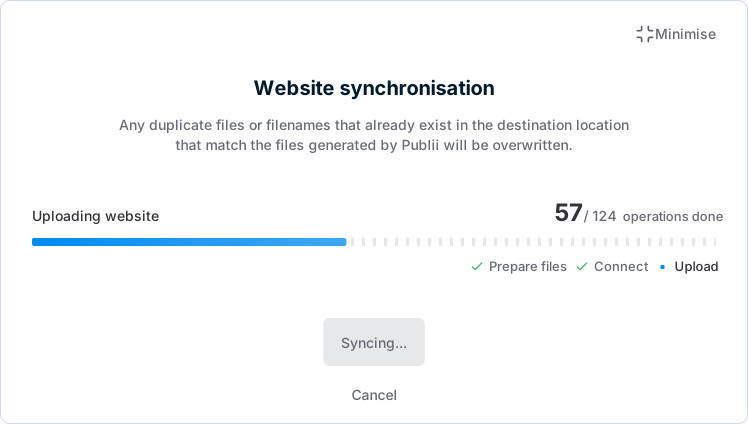
So you've finished creating your content and you think your website is ready to be shared with the world. Now's the time to sync your website! Click the Sync your website button at the bottom of the left-sidebar in Publii to open the synchronization window, then click Sync your website again to start. The files for your static website are generated automatically, then uploaded to your configured server, ready to be sent to any visitors who come to your site. Your server serves these ready-made files without needing to generate each page when a visitor requests it.
The importance of the syncing process in Publii
The sync process is the key to making your website available online. Saving changes or using the local preview does not publish them to your server. For this reason, it's important to ensure that before you sync, you have correctly set up your server in the Publii settings. You can find a step-by-step guide on how to do this in our Server Configuration section of this guide. The first sync may take some time as the entire website content must be generated and uploaded to your server; please be patient while Publii performs these tasks.
If you use Manual deployment, Publii prepares the website files instead of uploading them. Click Prepare website files in the preparation window, then upload the resulting files to your hosting provider yourself.
How to resync your server with Publii after making changes
After the initial sync, your website will be available online. But what if you make changes? Since Publii is an offline desktop app you can make changes even when not connected to the internet, saving them locally via the app. Once any changes are made and you're ready for them to be added to your live website, connect to the internet and start the synchronization process again. Publii generates the updated website and identifies which files need to be uploaded. Unchanged files can normally be skipped, so re-syncs are often faster than the first sync. The time required depends on the number of changed files and your publishing method.
A small edit can affect more than one generated file. For example, changing a shared CSS or JavaScript file with file versioning enabled changes its versioned URL in the HTML pages that use it. Changes to a plugin may also affect many pages. If your theme displays randomly selected related posts, that selection can change when the site is generated, including after adding a new post. In these cases, Publii may need to upload many HTML files even if you edited only one post or setting.
Don't forget: any changes you make in the Publii app will not appear on your live website until you publish them. Make sure to sync after making changes that you want visitors to see, or upload the prepared files yourself if you use manual deployment.