Server Configuration
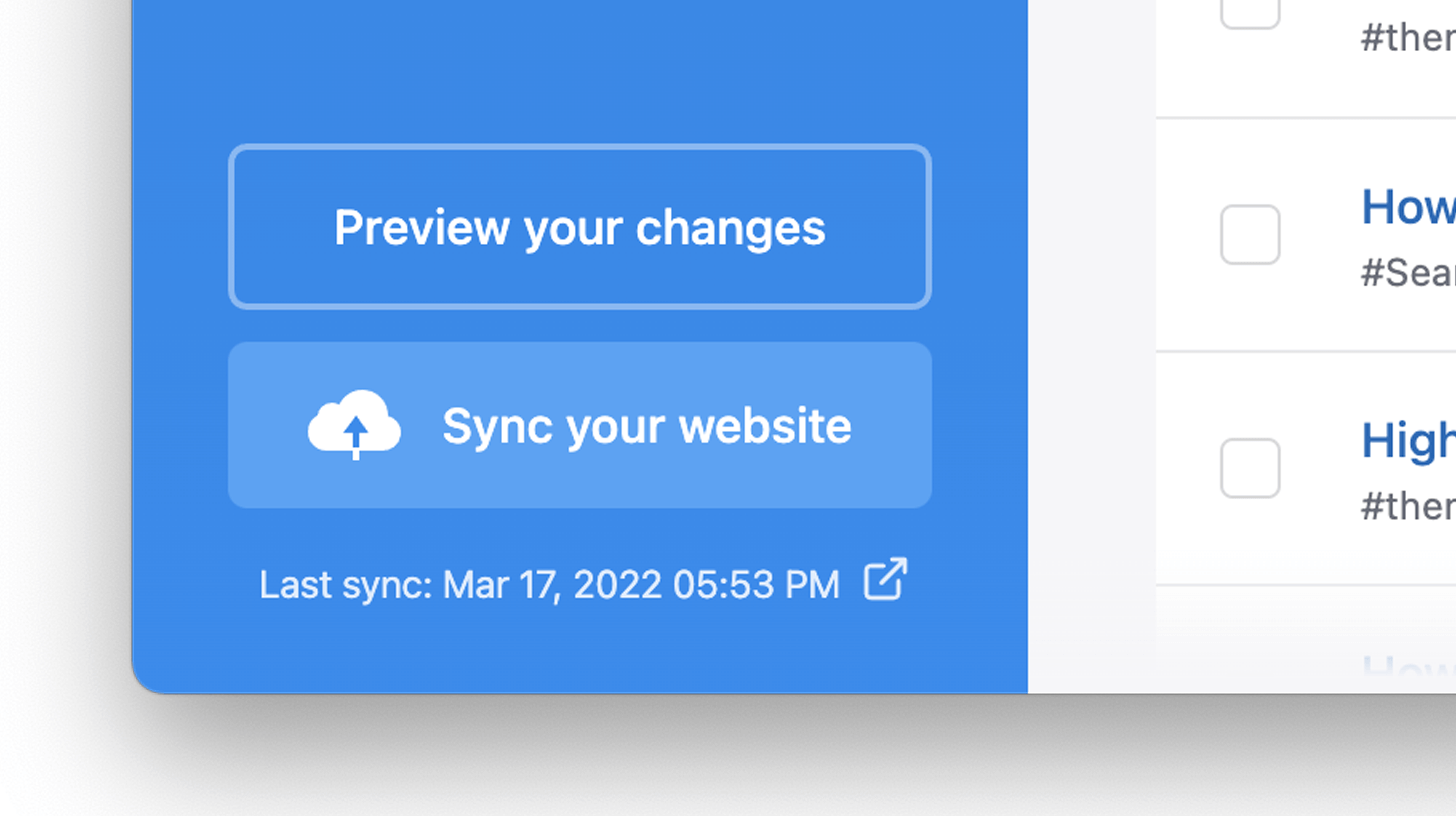
As Publii is a desktop application it doesn't need to be connected to your website's server when you're making modifications or adding content; instead, whenever your changes are ready to go live you'll just need to hit the Sync Your Website button in the bottom-left of the Publii app:
You can sync your website as often or as little as you wish; each time you sync Publii will compare your local files with the ones on the server and will only upload changes, so after the first sync everything will run faster. Before you can sync your site though, you will need to enter your server details into the app. Don't worry if you do not have a server yet; you can still use Publii to create your website and add your server information later.
First Steps
If you are setting a server up in Publii for the first time, you'll notice that the Sync your website button is unavailable; instead, you will see a button marked Configure Server. Clicking this will take you to the Server Configuration screen. Alternatively, you can click the Server option in the left-sidebar to open this screen too.
If you haven't yet got a server, don't worry. You can continue to create content and customize your website locally in Publii and sync it later once your server is ready.
Before you get started with setting Publii up to sync to your server you should make sure that you know which type of server you are using, and have the information necessary to configure it in Publii. Details about the settings and details required for each deployment method are covered below. Whereas FTP-based uploads (this is the standard for hosting purchased from a provider, such as Bluehost or GoDaddy) are easy to configure, more convoluted deployment options such as Amazon S3 require additional steps; you'll find links to detailed step-by-step guides to using these methods in the left-sidebar of this documentation.
Once your server is configured, you can start building your site's content; check the Content Creation section of this guide for information on creating posts, tags and authors, inserting pictures and video, and more.
Choosing a Server Type
Upon clicking on the Configure Server button, the first thing you'll see is a selection of Server Types for you to choose; Publii includes support for traditional FTP and SFTP if you have your own server, as well as support for multiple Cloud-Hosting Solutions, including Netlify, S3 storage, GitLab, GitHub Pages, and Google Cloud. There is also an option for Manual Deployment, which exports the website files to your local machine.

Each server type offers its own benefits, depending on what you require from your site; we'll cover the specifics of each server type below, with links to more in-depth guides for each solution. But don't worry if you choose incorrectly on this screen; it's easy to switch between server types later if you need to. After choosing a server type, you will be taken to the Server Configuration screen.
Server Configuration Options
Every server type that you choose will include two basic, universal options:
- Website URL - This will usually be the home URL of your site if you are running your own server e.g. www.mysite.com; you can also choose which protocol to use, including http://, https://, file:///, dat://, ipfs://, dweb://, or no protocol if you are aiming for manual deployment on an intranet site. Cloud storage solutions will usually use their own generated domain; our in-depth guides for each server type will cover where to find this.
- Use Relative URLs - This option converts full URL paths to relative paths e.g.
https://www.mysite.com/path/to/path/
As well as these base options, each protocol also has its own specific security, setup and sync requirements. Depending on which protocol you choose, you may have many more options available. You'll need to enter your selected protocol's configuration options and the click the Save button to store the details; if necessary you may also click the Test Connection button to make sure Publii is able to connect and sync with your server. Now let's look at each of the available protocols and their respective settings separately:
FTPs
FTP (File Transfer Protocol) is used when using a server provided by a host; if you've bought a hosting plan from a host like GoDaddy or Bluehost then Publii will use FTP to move and manage all your website files to your server. There are three types of FTP supported by Publii; standard FTP, or the more secure SFTP and FTPS. Most hosts will support one of the more secure options, but if in doubt it's best to check with your host's customer service team to ensure you have the most secure connection possible.
FTP protocol uses an unencrypted transmission, which means any data sent over it, including your username and password, could be read by anyone who may intercept your transmission. We strongly recommend using FTPS or SFTP protocols if possible.

The available options when selecting FTP as your protocol are:
- Port - Sets the port that Publii should connect through; this is usually set to the default '21' (for FTP) or '22' (for SFTP), but your host provider can advise you of their required settings.
- Server - Put the URL for your FTP server access here; this will be a web address beginning with the prefix ftp:// rather than http://.
- Username - The username for your FTP access.
- Password - The password for your FTP access. Both of these are required so that Publii can access the server. Text entered here will be obscured for security purposes; to display the typed text, click the "Show Password" text in this field.
- Your Key (SFTP with key only) - Define the path to your SFTP key here; clicking on the field will open the file explorer; simply navigate to and select your key to continue.
- Key Passphrase (SFTP with key only) - Enter the passphrase for your SFTP key here if you have one.
- Always Ask For Password - When this option is enabled you will be required to enter the FTP password every time you sync your site, for added security.
- Remote Path - The remote path is the folder that your FTP opens to when first connecting; usually this would be the main /public_html/ folder, but it may be that you have limited access to a particular subfolder, such as public_html/mySite/.
S3 compatible storage
Publii by default supports Amazon S3 but can support any S3 compatible storage by providing an appropriate endpoint. Amazon S3 (Simple Storage Service) provides online storage for data files that can then be used for multiple purposes, including displaying the data as a static website. When Amazon S3 is set as your chosen protocol, the following options will be available (if you require a more in-depth tutorial, please check the next section of this guide which covers Setting up Amazon S3 Hosting):

- Use a custom S3 provider - After switching, specify an endpoint for your alternative S3 provider.
- Access ID - Enter the Access ID created for your website hosting bucket here.
- Secret key - Enter the Secret Access key of your AWS account
- Bucket - Add your (case-sensitive) bucket name to this field.
- Region - Choose the same region you have set for your bucket from this drop-down list.
- Remove remote files - When this option is enabled, if Publii finds any files that are not already stored by Publii locally, then they will be deleted. If you are only using your bucket for a single site you should leave this enabled.
- Prefix - Enter a prefix here (e.g. blog/) to create a subdirectory in your bucket and upload the website files to it.
- Cache-Control header for HTML files - Sets the Cache-Control HTTP header for HTML files. Using
no-cache, no-storeensures that browsers always fetch the latest version of your pages, which is useful for content that changes frequently. - Cache-Control header for other files - Sets the Cache-Control header for all other file types like images, CSS, and JavaScript. Using a long cache time such as
public, max-age=2592000(30 days) can improve site speed for repeat visitors by allowing their browser to store these assets locally. - ACL - Select from the dropdown list one of the available predefined grants known as canned. Each canned ACL has a predefined set of grantees and permissions.
GitHub Pages
GitHub Pages are areas provided by GitHub for hosting a website, either for highlighting a project, or just yourself! When GitHub Pages is set as your protocol, the following options will be available (full details on setting up and configuring GitHub Pages for your Publii site may be found in the GitHub Pages section of this guide):

- API Server - By default, this field is already completed with the standard API server. However, if you are running your own instance of GitHub, you can change the API server by entering it here.
- Username/Organization - Enter your GitHub username or organization here.
- Repository - Enter your repository name here.
- Branch - Add the name of the branch you've set as your GitHub Page location in your repository in this field.
- Token - Put your generated security token in this field.
- Parallel Uploads - Defaults to '1'. Sets the number of upload streams that Publii can use when uploading your site content to GitHub Pages. Higher numbers allows for faster uploads, but can cause errors on slow connections, or an error 403 due to API upload rate limits.
- API rate limiting - Disable this option only if you are using Github Enterprise with disabled API rate limiting. Otherwise disabling this option can cause deployment errors.
Once the server options are set you can click the Save Settings button to store the data. If necessary you can click the Test Connection button to make sure Publii is able to connect and sync with your server.
Netlify
Netlify is a storage and website hosting service much like GitHub and Amazon S3, with flexible payment options and a free starter level. If Netlify is set as your protocol in Publii, the following options will be available (full step-by-step instructions to setting-up Netlify for use with Publii may be found in the Netlify section of this guide):

- Site ID - Enter the Site ID from the Netlify Site Info screen here.
- Netlify Token - Enter the token generated on your Netlify account here.
Google Cloud
Of all the online storage solutions, Google Cloud ranks alongside Amazon S3 as one of the biggest and most complex. Difficult to setup without experience, it nevertheless offers a huge amount of customization compared to its peers. If Google Cloud is set as your protocol in Publii then the following options will be available (an in-depth guide to setting up Publii with Google Cloud may be found in the Google Cloud section of this guide):

- Your JSON key - Enter the path to the JSON file containing your Google Cloud access key here.
- Bucket - Enter your Google Cloud bucket name here.
- Prefix - If a prefix is entered in this field, your site will be uploaded to a subdirectory using the prefix as its name e.g. if you enter 'blog' in the prefix, then a subdirectory 'blog' will be created in your Google Cloud bucket and your site will be uploaded there. Please ensure that your prefix is entered without a starting backslash; otherwise a blank directory with no name will be added first, then your prefix directory.
GitLab Pages
Similarly to GitHub Pages, GitLab Pages are a hosting area for projects created on GitLab, which can be used to create a website for documentation or promotion of the project. If GitLab Pages is set as your protocol, the following options will be available (if you need help with setting-up your GitLab Pages to support your Publii site, a step-by-step guide may be found in the GitLab Pages article of this guide):

- Server - Points to the server where your GitLab Page is stored; this should be left as default unless you are running your own GitLab instance.
- Repository - Enter your project's name in this field (it must match the name as it was entered on the GitLab Pages site).
- Branch - Enter the name of the project branch that your website will be published to. If you are not sure, you can double-check which branch is used by your project on GitLab.
- Token - Enter the access token for your repository in this field.
Manual Upload
Though Publii is designed to manage website updates and syncs automatically, there may be some users who do not have direct access to their server, prefer to upload their website manually, or just wish to output their site in a zip file for later deployment. In these cases, users can take advantage of the manual upload option, which outputs the website in a format of your choice.

The following options will be available if Manual Upload is set as your protocol:
- Output Type - Sets the file format that Publii should output your site as when a sync operation is run. Choose from a compressed ZIP or TAR file, or the uncompressed site folder. Output files are stored in the same location as your Publii website files location; once sync is complete you will be given the option of opening this location automatically.
- Output Directory - Sets where the output file should be placed when generated. Clicking on the empty field will open the file explorer for you to choose a location.