Configure Cloudflare Pages with Publii
All users of Cloudflare have access to Cloudflare Pages, which is an interesting alternative to regular static page hosting. And much like other hosting options with 'Page' at the end, we can use this service with Publii-based static websites in just a few simple steps.
How it works
Without going into too much detail, the function of Cloudflare Pages is fairly simple. Once it has been set-up, it will connect to your GitHub repository; from then, every time you make a change on GitHub, Cloudflare Pages rebuilds your website using the data from GitHub. As you can probably guess, this means that in order to configure Cloudflare Pages with Publii you'll need both a GitHub and Cloudflare account.
Configuring your GitHub repository
The first thing you'll need to do is ensure that you have created a GitHub repository for your website that Publii can use to upload changes to your site. This is a fairly easy process, and you can find a detailed step-by-step breakdown on how to do it in our article about [GitHub deployment]([https://getpublii.com/docs/host-static-website-github-pages.html](https://getpublii.com/docs/host-static-website-github-pages.html)).
Remember! As you won't actually be using GitHub Pages as the host of your site, you can create a Private repository rather than a Public repository. This will not have any effect on how your site performs on Cloudflare Pages, but it will prevent your website files being easily viewable as a repository on GitHub.
Your Cloudflare Pages website domain will usually default to GITHUB_REPOSITORY_SLUG.pages.dev, so use this when setting-up your server details in Publii to ensure a smooth first sync. If you would prefer to use a custom domain name, you'll find details of how to configure this later in this article.
After setting up your GitHub repository, perform the first sync of your website to make sure that everything is working as it should; if the sync completes successfully, then you can move on to Cloudflare Pages configuration.
Setting up Cloudflare Pages
Once your website is synced with GitHub, you can configure Cloudflare Pages.
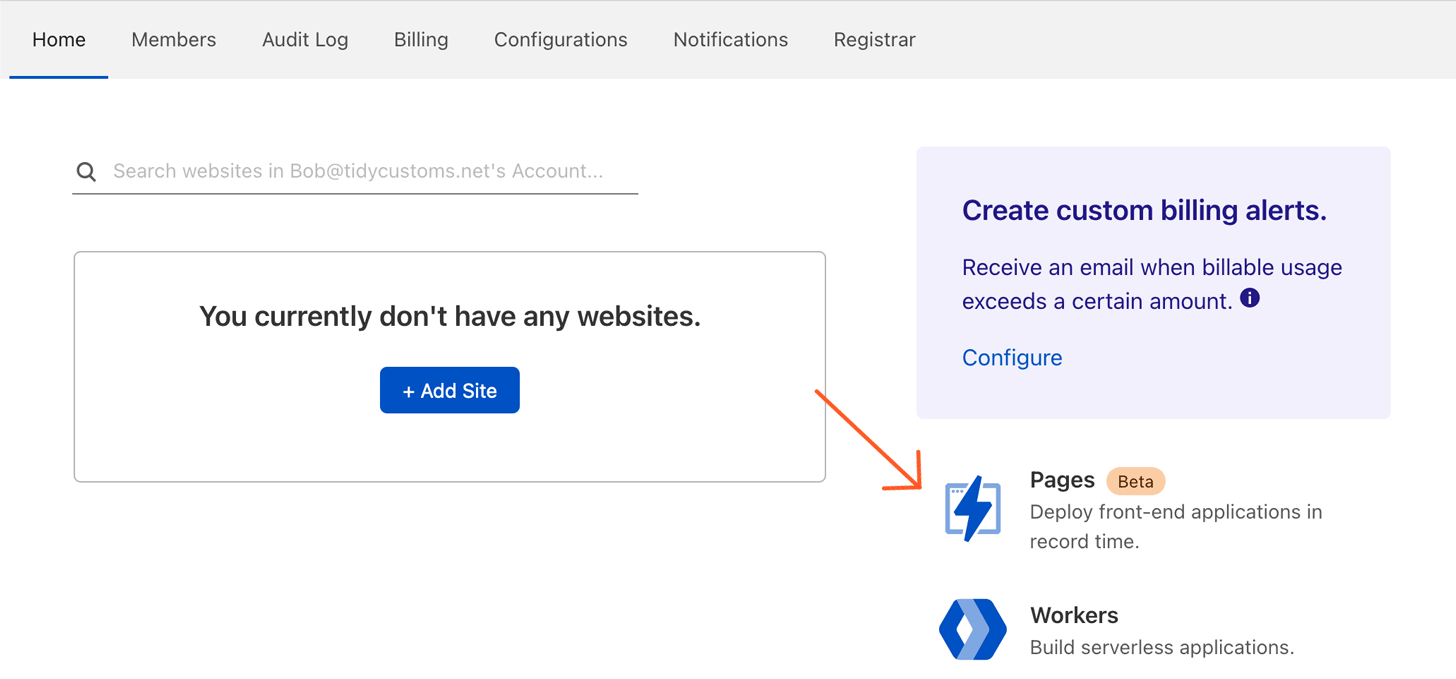
- Log in to your Cloudflare account and select Pages from the right sidebar:
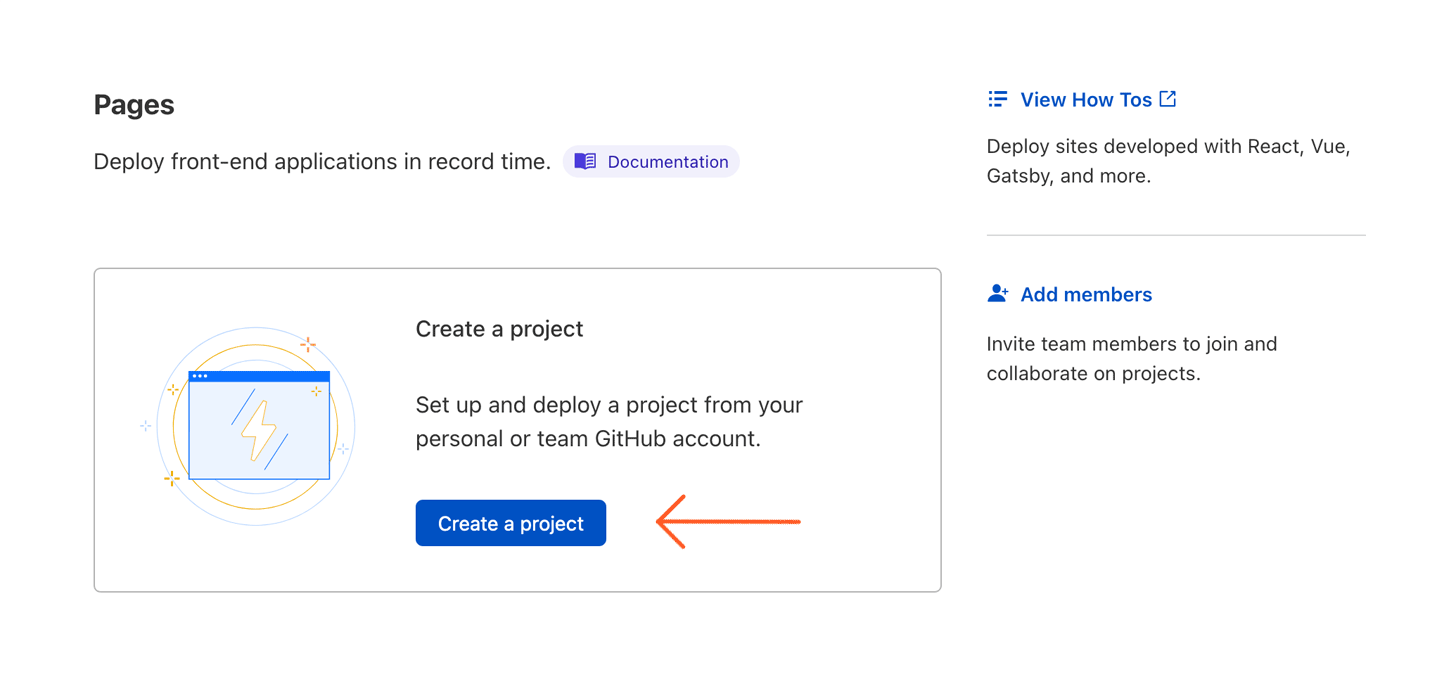
- On the Pages screen, click on Create a new project:
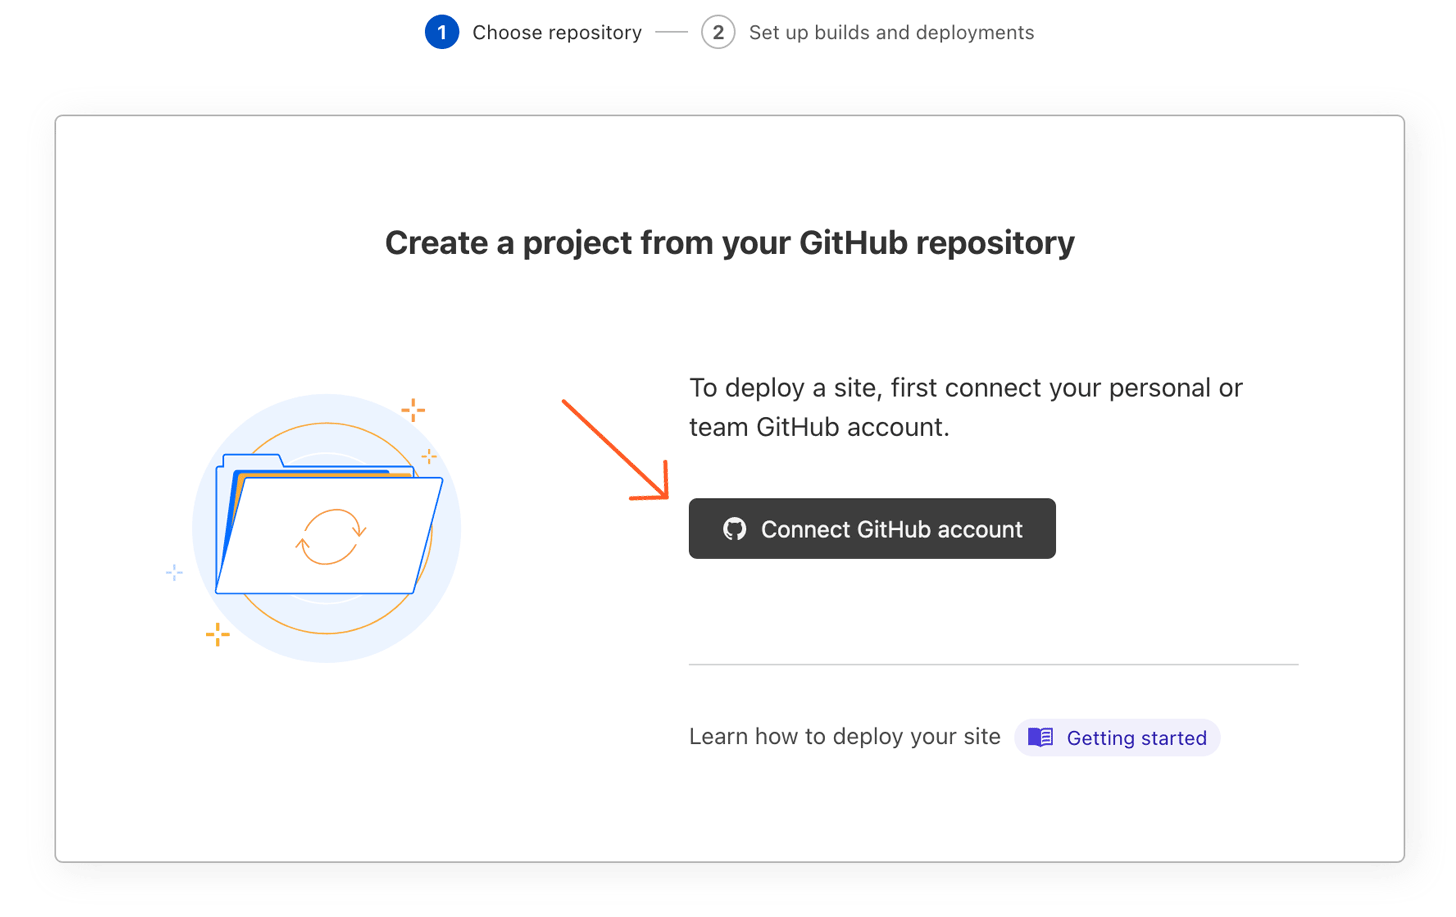
- On the next screen, click on Connect GitHub account:
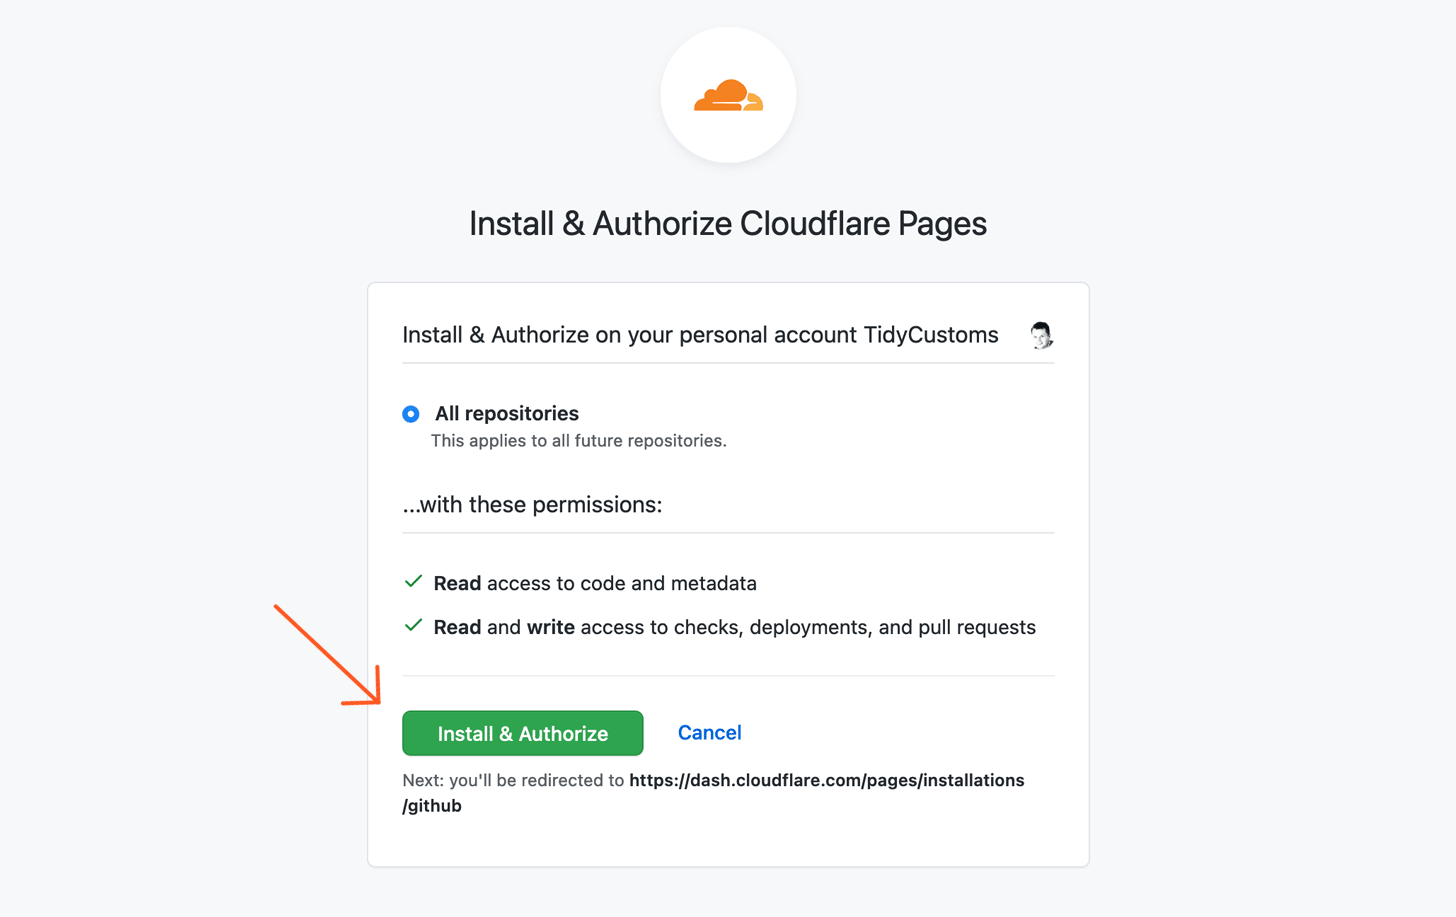
- Here you'll see an authorization prompt, where you can select where the Cloudflare Pages app will have access on your GitHub account. You can restrict Cloudflare's access to only the repositories that you select here, so naturally you'll need to ensure your site's repository is selected. Once you've done this, click on Install & Authorize to continue:
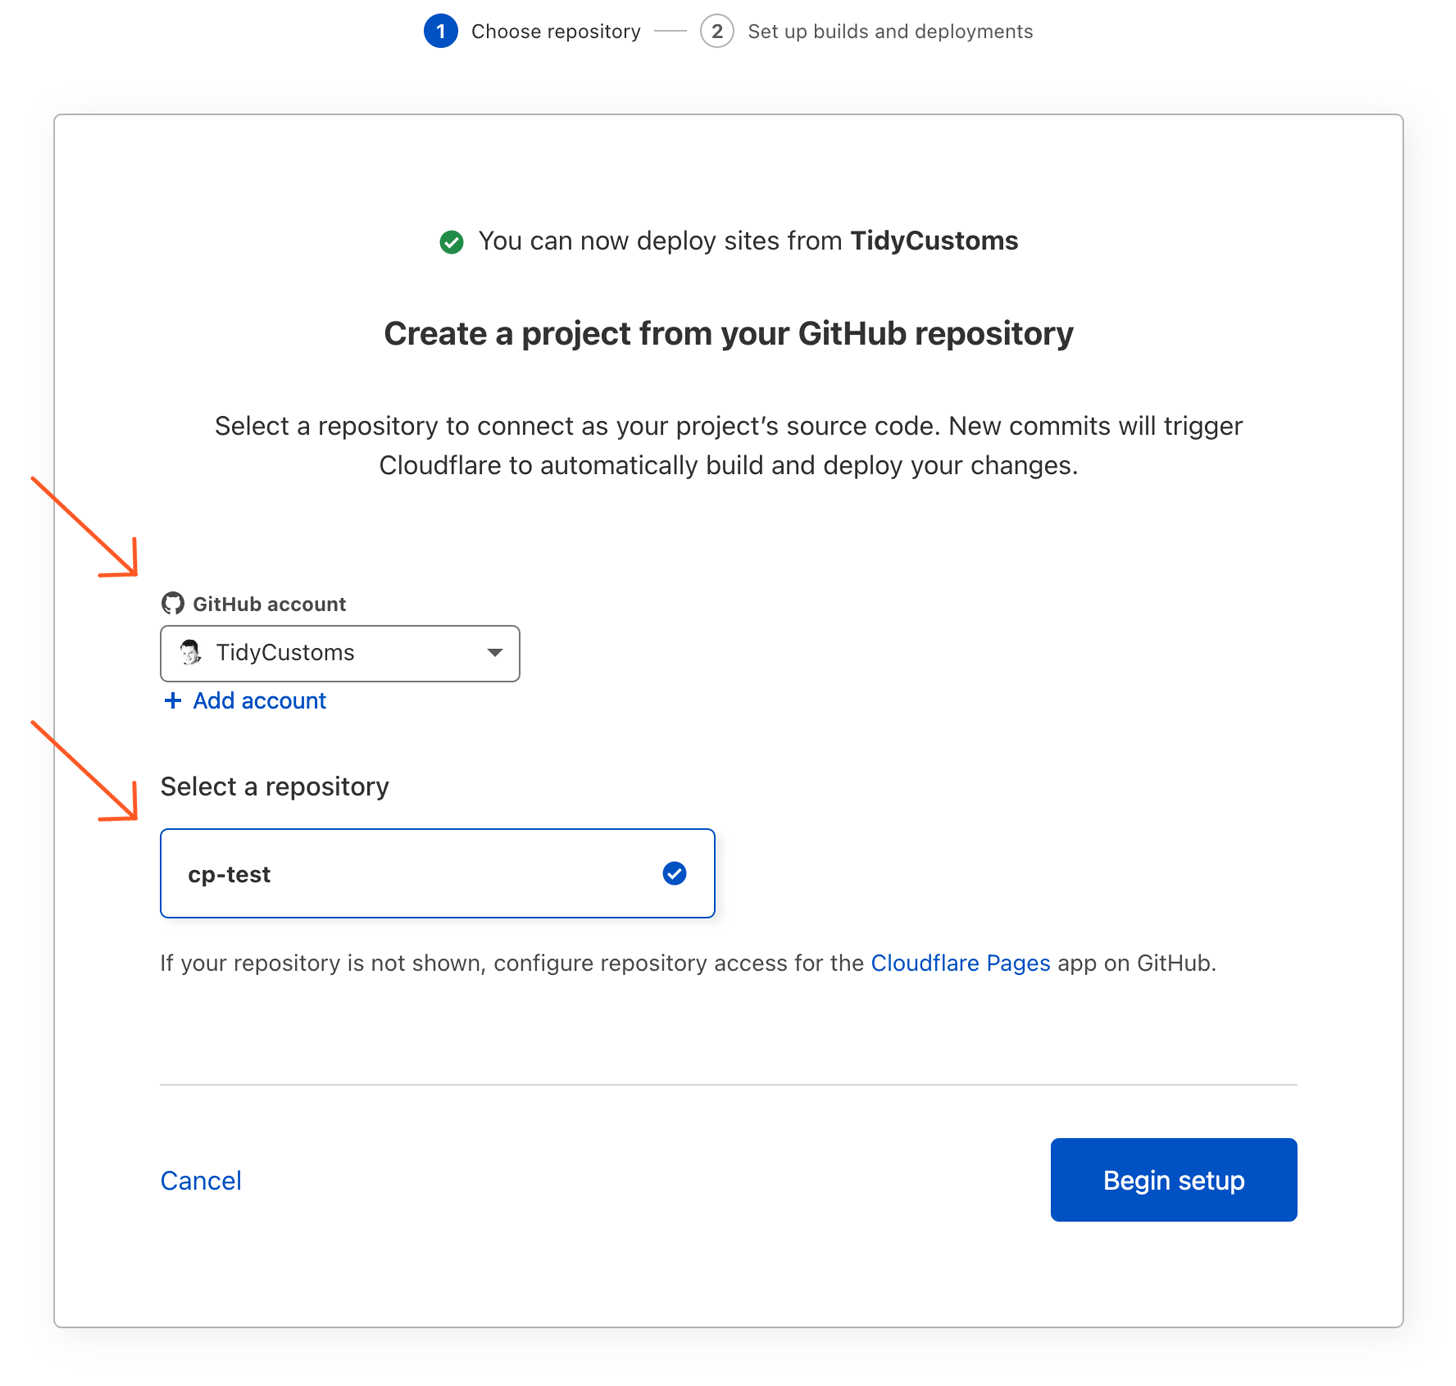
- In the next step, specify the GitHub account and repository to be used for your site, then click Begin setup:
During setup, you can set the project name (this will be used to create a website URL in the .pages.dev subdomain). Also, a production branch must be specified (it will be most probably main or master). When this is all configured, click Save and Deploy:

The deployment process will start; be aware that this may take a few minutes to complete, so don't worry if it seems a little slow. After the deployment process finishes, you may visit your website using the link displayed over the status message:
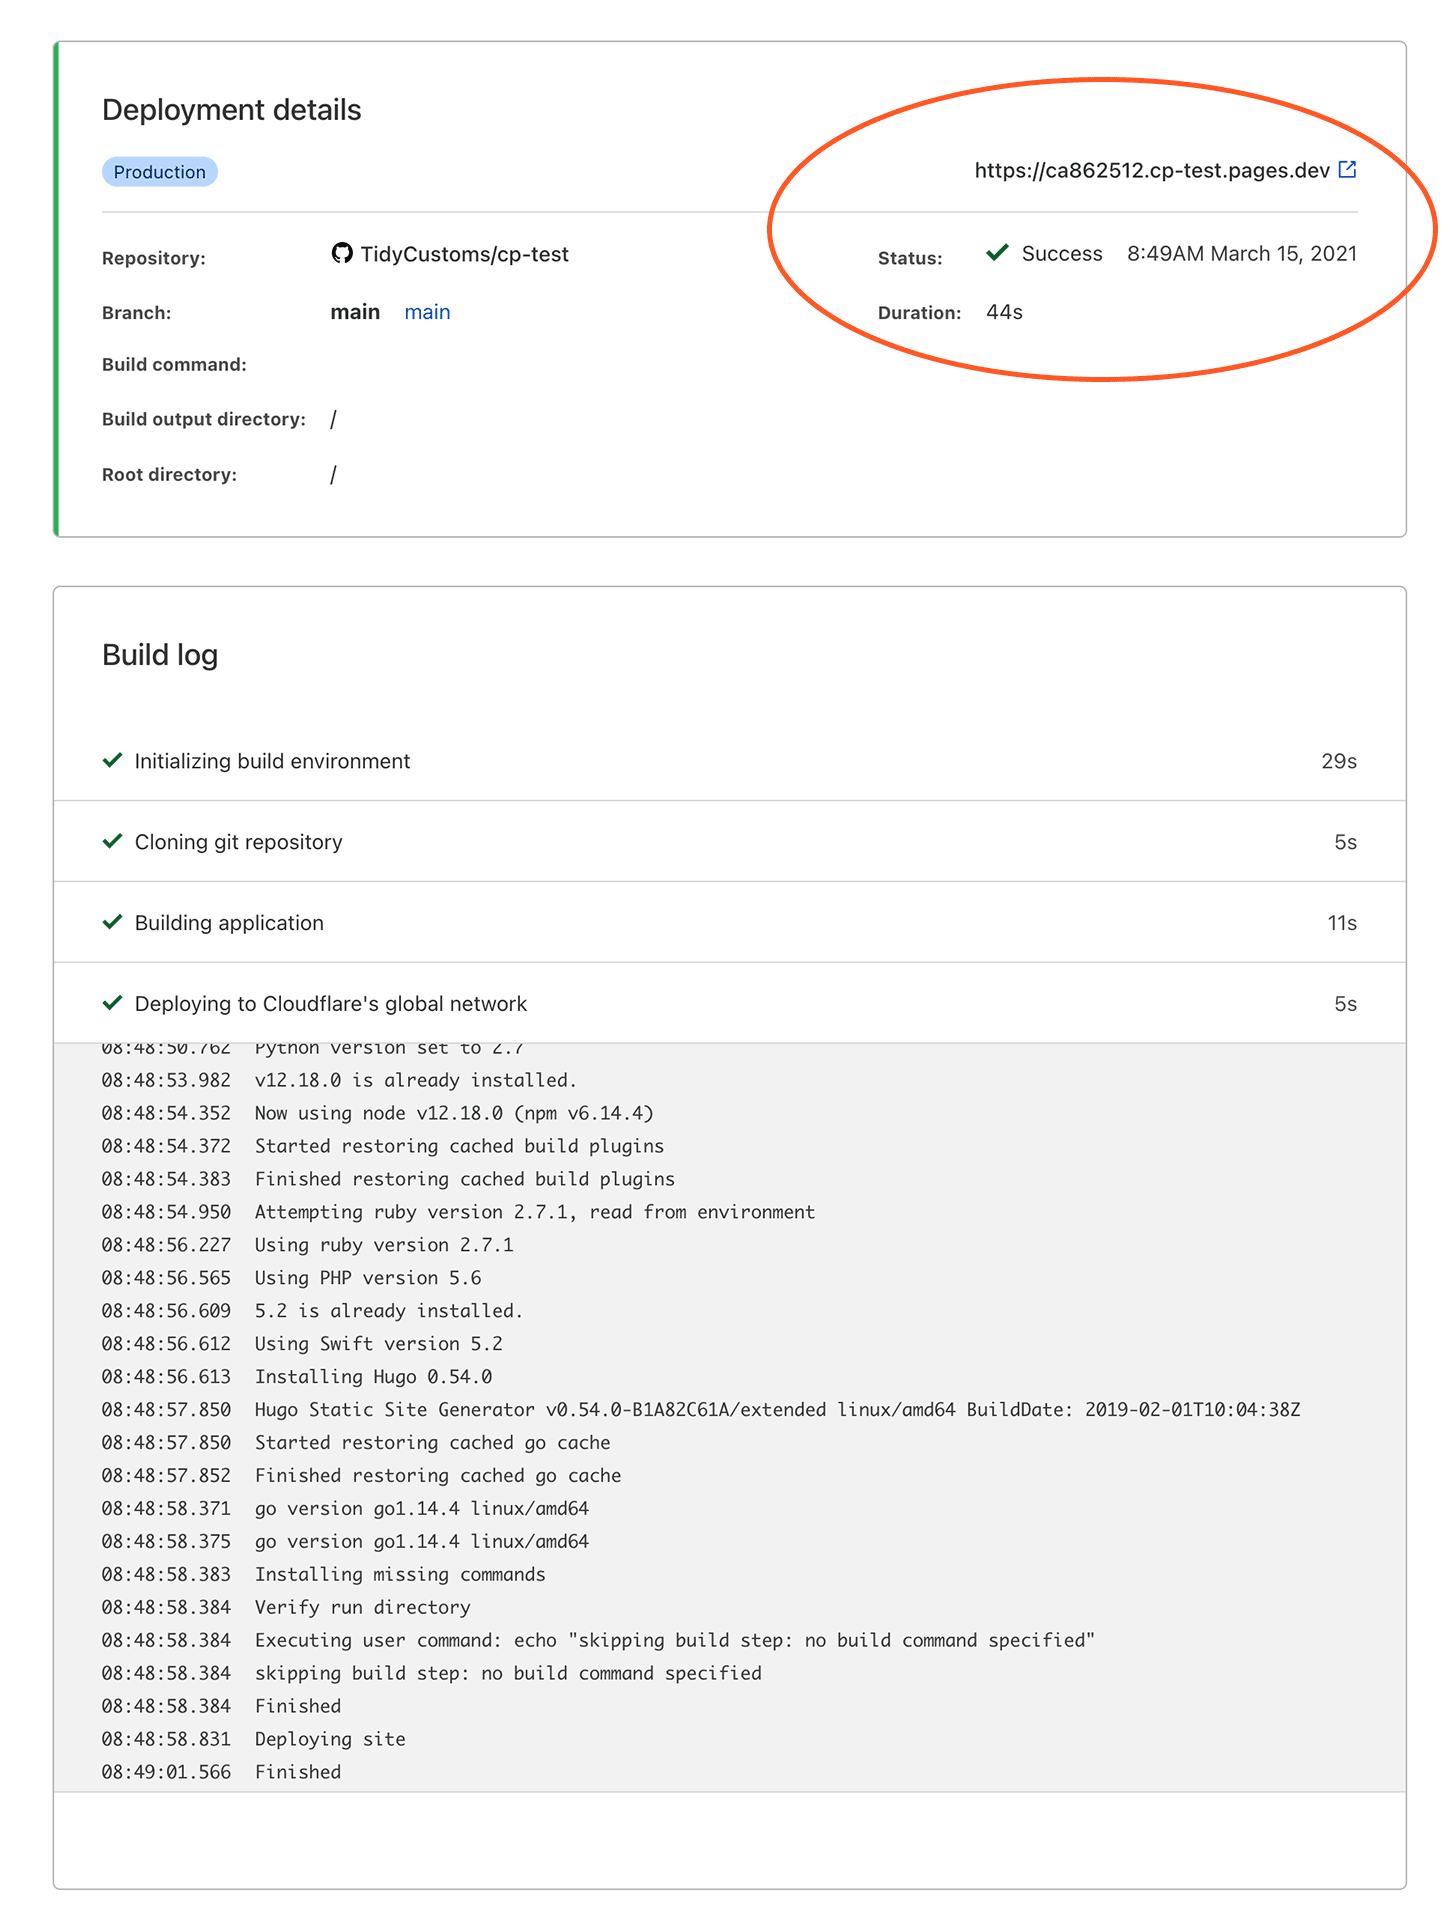
And, of course, your website will also be visible on the main subdomain; in the example this would be cp-test.pages.dev
- You may now review the status of your website by going back to the project page:

If the auto-generated subdomain name you entered earlier was correct, and your GitHub repository slug was available - then you're all done! Your website is now available through Cloudflare Pages.
How to setup a custom domain with Cloudflare Pages?
If you want to use your custom domain name, just follow these steps:
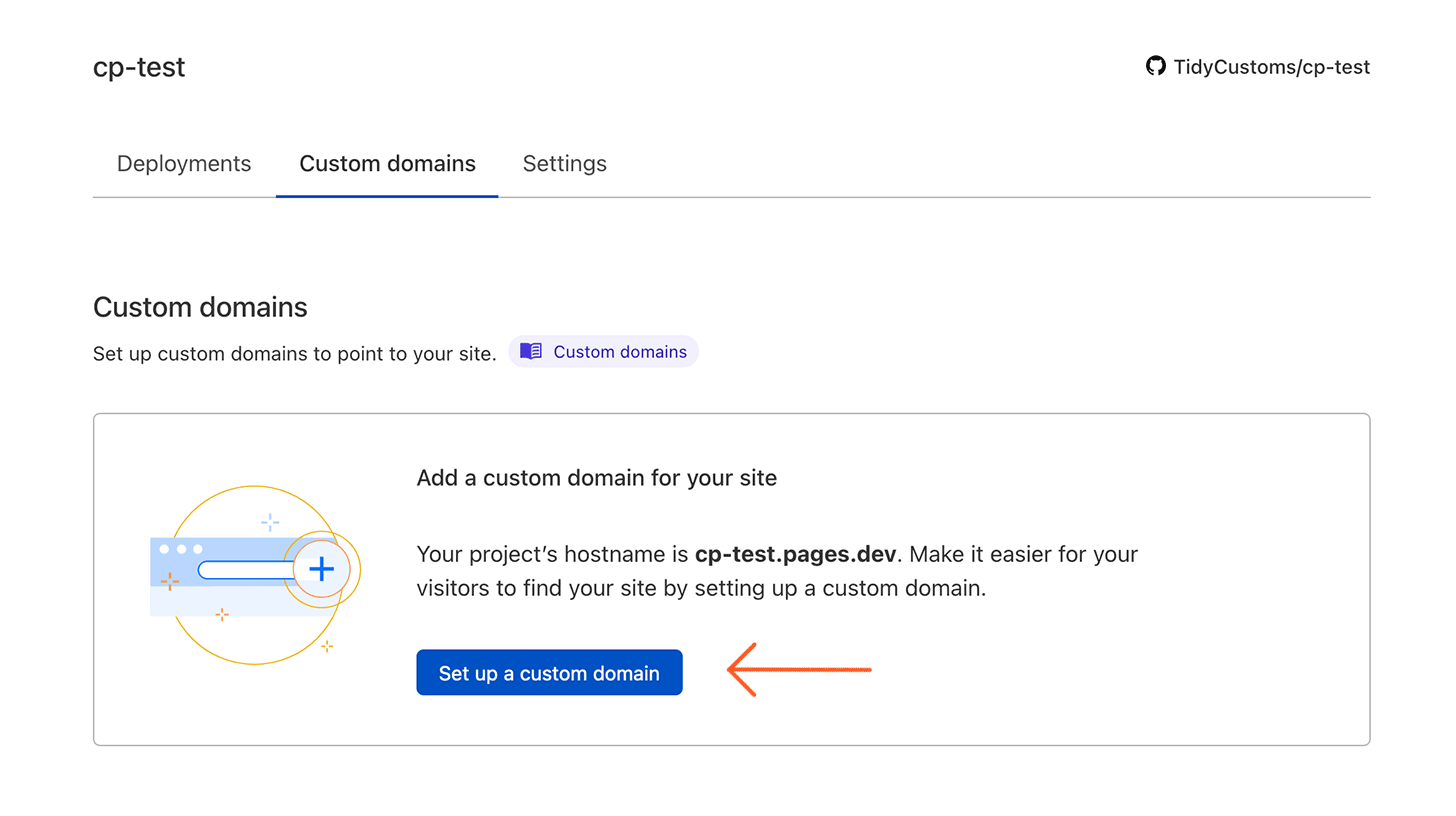
- Open the Custom domains tab in site settings, and then click Set up a custom domain:
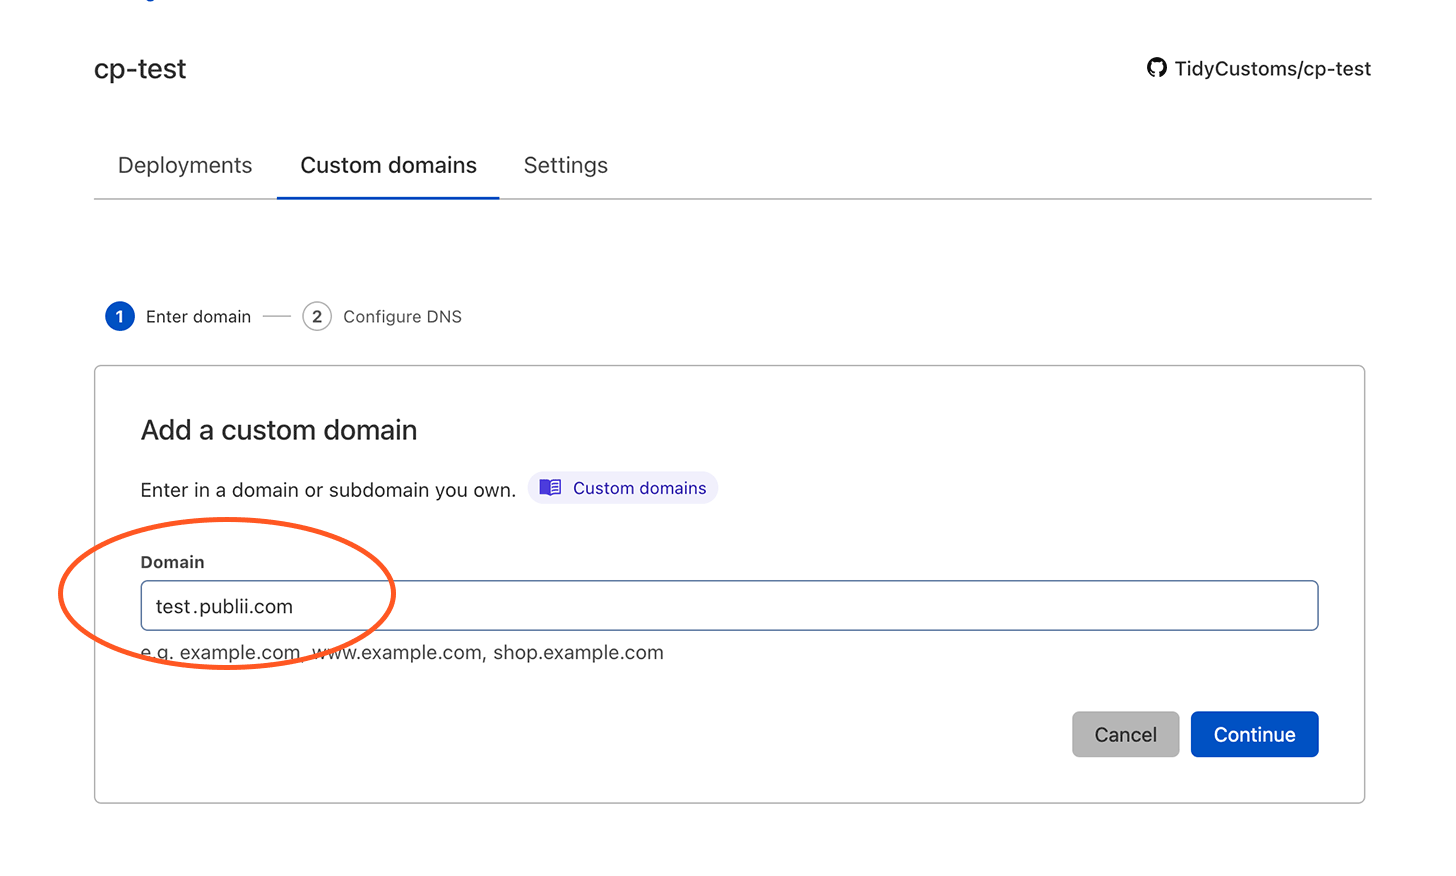
- Enter the domain or subdomain which you want to use and click Continue:
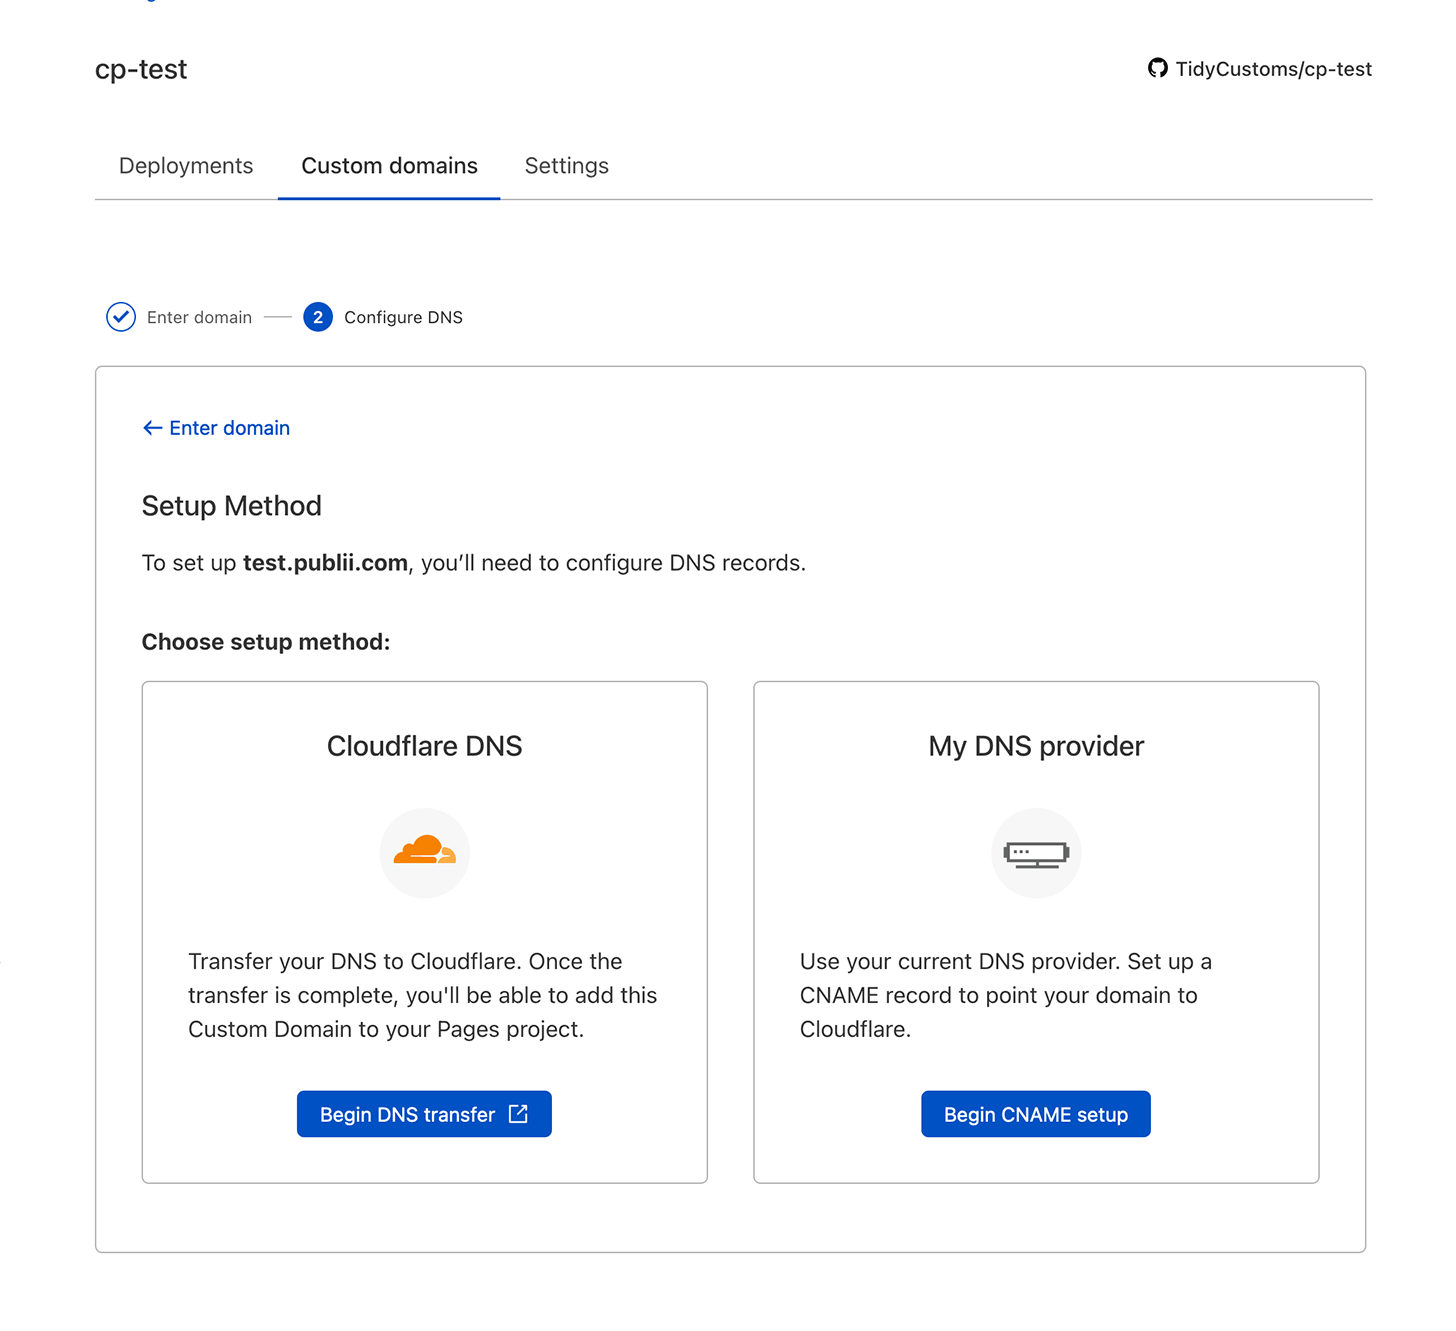
- The rest of the process will depend on your domain settings - you can use Cloudflare's DNS service or configure a domain via your DNS provider:
Summary
Using Cloudflare Pages is quite simple, and it's even easier if you already have an existing deployment of your site on GitHub as you'll then only need to configure Cloudflare Pages to work with your existing GitHub account. But if you haven't yet created a GitHub repository you'll find the process is not too demanding, and by following the steps outlined in this and the GitHub repository article linked previously, you can be up and running in no time.
As a final note, please do bear in mind that changes made to your website in Publii will not appear on the live site until a few minutes after each sync, as the whole process requires Cloudflare to sync up with GitHub first, and then run through its build process to actually update the site.